Not done intentionally , but sometimes things have to happen that way.
I'm back after my stay in hospital, having treatment on my back.
Although not completely sorted due to a little hiccough with my blood pressure,
which on the last day of my treatment decided to shoot sky high,
which meant I was unable to complete the full treatment,
and will have to go back in a months time.
It is greatly improved, but I still can't do any gardening for awhile.
Fortunately his basket was planted up some time ago
so we did have a few nice things to see
Tete a Tete daffodils
So regretfully I'll have to leave things to Mr France.
Gardening is not his thing.
Not so very long ago he couldn't tell a weed from a cherished plant.
He does all the hard ground work and I do the planting.
I'll be giving advice and asking him just to do the most important things.
My big new flower bed will not happen this year.
At the moment it's looking like this.
But it's not important.
I'm thinking when the soil is levelled off, I'll just lightly rake in some seeds
which were gathered last year and hope for the best.
This is what they looked like last year when my niece collected them for me,
it's where we go on one our favourite walks.
Our communes have been sowing wild flower seeds en-mass in certain areas for the past few years.
They're left to grow on their own amongst the grass with no attention what so ever .
but look so pretty, and as my garden is on the rustic side in places
I think they should fit in quite nicely.
This is the view from the front of our house.
Shall we start with the potting bench, where most of the preparation begins.
Trailing Fuchsias which we over wintered indoors, coming along nicely
Something I could do was watch & nurture
some of the cuttings growing, that I took back in September.
So what's been happening around the garden, naturally and unassisted?
I'll take you on a tour showing the good the bad & the ugly.
Work in progress, hopefully this will get finished.
Mr France loves to build rustic stone walls,
using the stones left over from the renovation he did when we bought this old ruin 20 yrs. ago.
These Tete a Tete miniature daffodils are new
they were planted last year in the work in progress new bank area.
Muscari bulbs in bloom planted last year.
Two different varieties.
and the ones in the trough appear every year
a little on the small side due to neglect, put a pretty blue.
These big blousey Tulips were planted here by my Danish daughter in law
over 15 years ago. They come up every year, but this year I think this is the best they have looked.
Maybe they put on a special show for me, to cheer me up for when I came home.
No seeds have been sown this year, I will be buying trays of plants this summer.
Some trays of summer plants already bought for the window boxes & baskets.
This year not as many as usual.
Could be a sitting down job next week.
Hopefully, slow but sure I'll be back to my old self soon
doing what I love best
pottering about in my garden.
Before I went into hospital I bought myself a new Stillman & Birn Beta sketchbook.
so while I was passing the hours in hospital I did some water colour sketches.
I'll show you some I did later in the week.
and maybe work in my garden will have progressed.
Thank you to all my friends who have sent me their kind wishes for my speedy recovery.
Some of you are also suffering with back problems, so I hope things are improving for you too.
Even if I didn't leave comments on the usual blogs I follow I've loved reading your posts,
keeping up to date with some of the things you've all been doing.
à bientôt
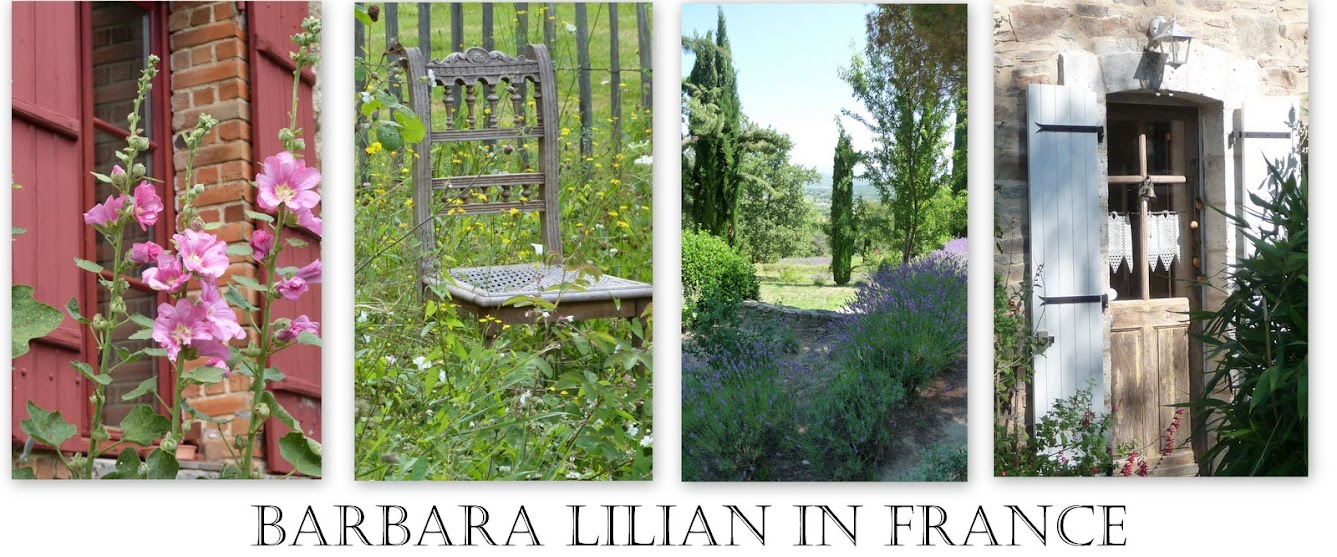
Barbara
Lilian


.JPG)


.JPG)


